Last updated November 21, 2026
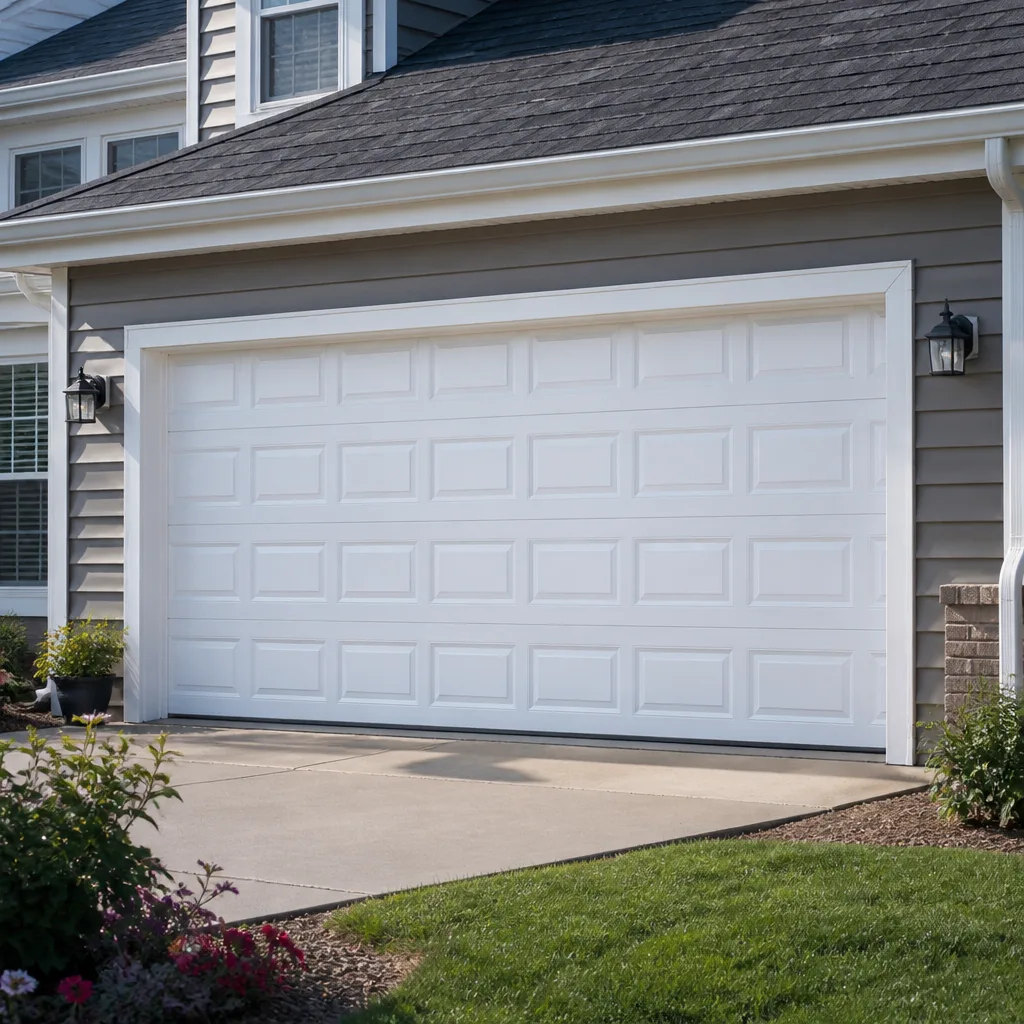 Raised-panel steel
 Carriage house
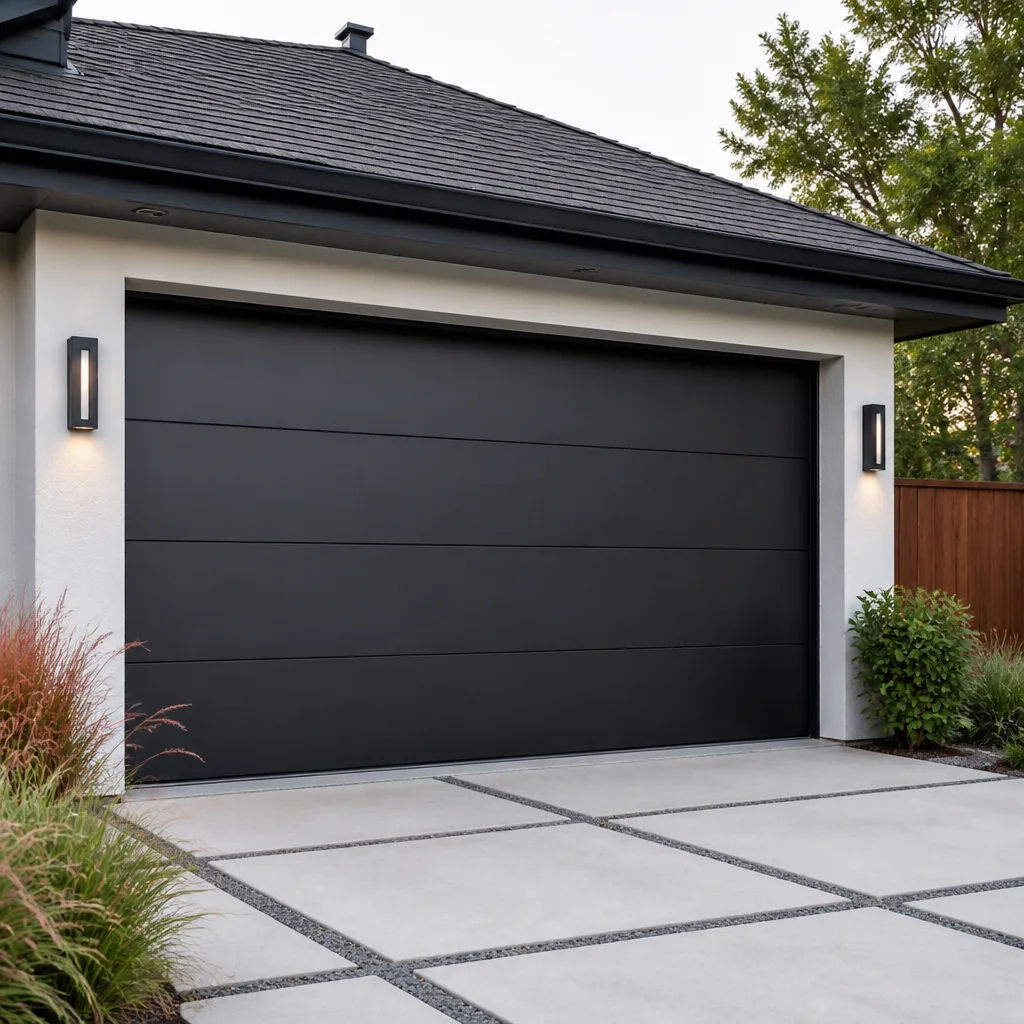 Modern flush
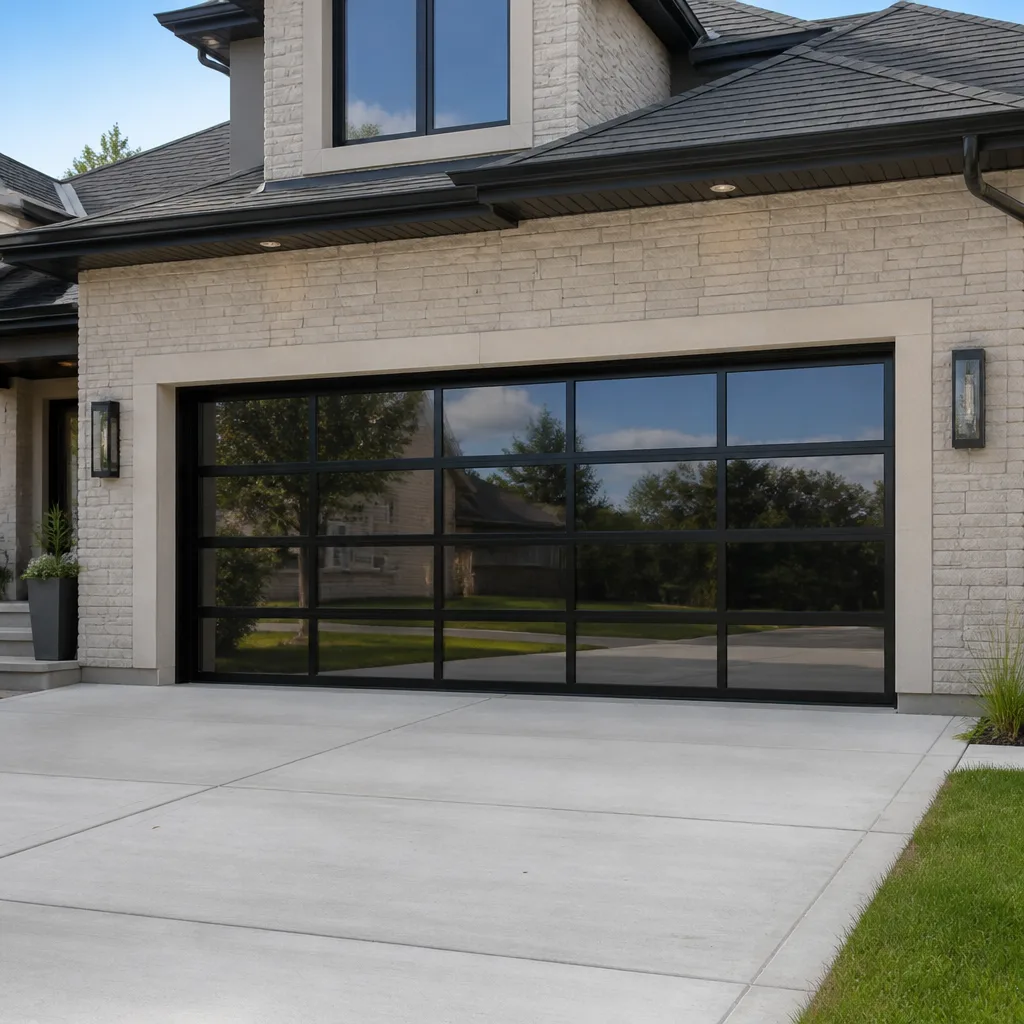 Full-view glass
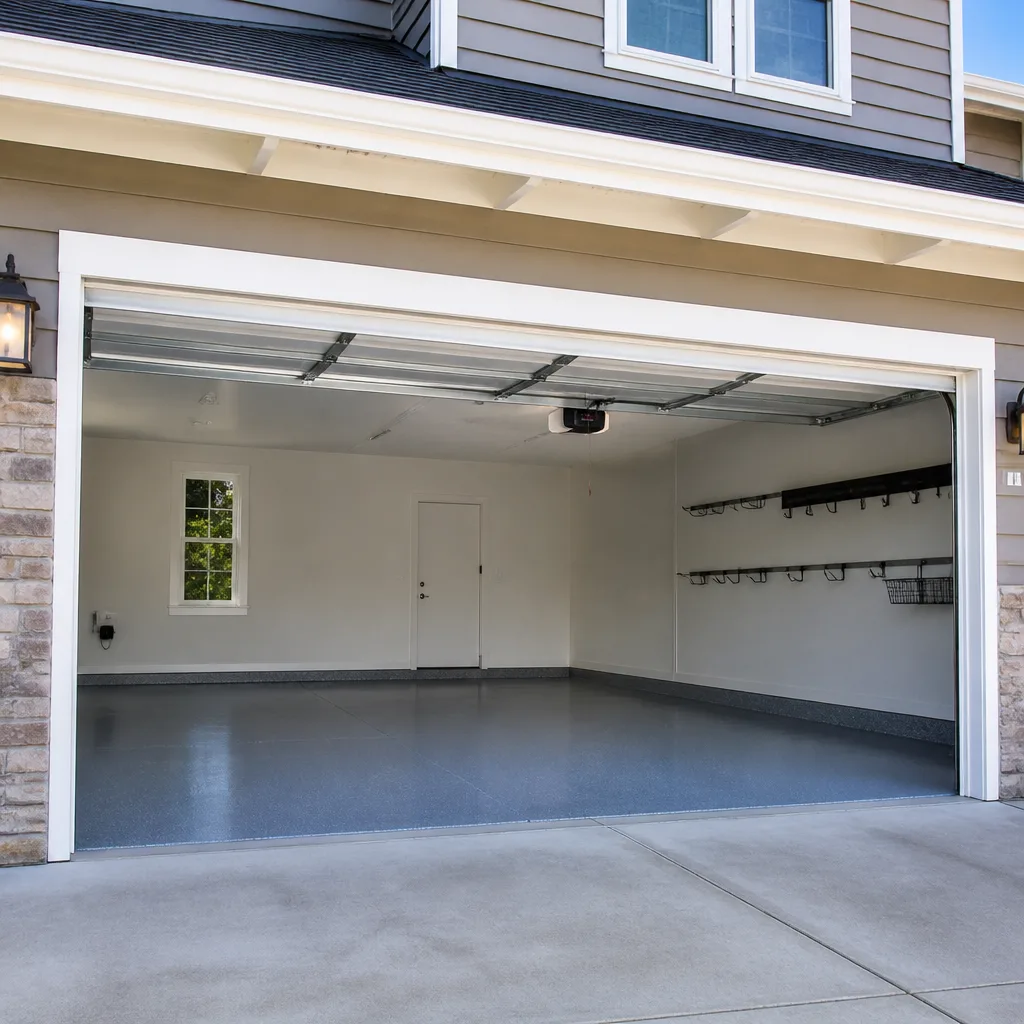 LiftMaster openers
 Chamberlain openers
Full 25-point door and opener safety check with every visit - springs, cables, rollers, tracks, and your LiftMaster or Chamberlain opener included
You get a price before we start. It does not change when the pro arrives.
Get your free estimateDIY vs Professional Garage Door: The Linden Hills Homeowner’s Decision Guide
Most homeowners asking “DIY vs professional” are really asking the wrong question. They’re asking “am I handy enough?” – and that’s the less useful measure. The better question is: which specific garage door tasks forgive a small mistake, and which ones punish it instantly and permanently? Garage doors happen to have more of the second kind than almost any other repair in the house. A torsion spring stores enough energy when wound to shatter a wrist or fracture a skull, and it doesn’t fail gradually or give you a warning. In this guide we’ll draw the line task by task, explain the physics well enough that you can judge for yourself, and point out the narrow slice of work where an experienced DIYer genuinely saves money in Linden Hills.
Quick Answer
Most garage door work is not a good DIY candidate, but a few tasks are genuinely safe to handle yourself: cleaning and lubricating tracks and rollers, replacing bottom weatherstripping, and re-aiming opener safety sensors. Anything involving torsion springs, cables, or opening the opener’s motor housing should go to a specialist. In Linden Hills, the cold and freeze-thaw swings our doors live through make spring and cable failures common, and those are precisely the repairs where a pro makes the most sense.
Styles & brands we work with
- Raised-panel steel
- Carriage house
- Modern flush
- Full-view glass
- LiftMaster openers
- Chamberlain openers
Table of Contents
- Why Garage Doors Are Different From Other DIY Repairs
- The Task-by-Task Risk Matrix
- The Physics of Torsion Spring Tension
- The Tools Nobody Shows You on YouTube
- The Narrow Category Where DIY Actually Saves Money
- Warranty and Insurance Implications in Linden Hills
- How Linden Hills Climate and Housing Affect Your Door
- What a Professional Actually Brings to the Job
Why Garage Doors Are Different From Other DIY Repairs
A garage door is the largest moving object in a home, and it hangs from tension. That’s the whole difference. A leaking faucet or a squeaky door hinge gives you feedback before it becomes a problem. A garage door system holds hundreds of pounds of counterbalance tension every second of every day, and the components storing that tension are under load even when the door is closed and still.
That matters because the DIY-versus-professional question usually centers on safety margins. When you’re on a ladder with a paintbrush, a slip means a splatter and some cleanup. When you’re working with tension, a slip means the stored energy releases in a fraction of a second and something – a spring, a cable, a wrench – moves fast enough to do real damage. Standard residential doors store a surprising amount of energy in a torsion spring, and the torque that holds the door up is the same torque that will throw a winding bar across the garage if you lose grip.
So the honest framing for Linden Hills homeowners isn’t “are you capable?” Most people reading this are perfectly capable of following a video. The framing is: which jobs have an asymmetric risk profile? Meaning a small error that produces a catastrophic outcome with no warning and no second chance. Garage doors have more of those than almost any other repair on the property. That’s not a marketing line – it’s why spring work is its own specialized trade.
Our technicians have up to 12 years of experience, and every one of them has watched a homeowner’s near-miss turn into a call. We say that not to scare you off every task, because plenty of tasks are safe. We say it so you understand where the line actually falls before you start.
The Task-by-Task Risk Matrix
Here’s the practical sort. The left column is the task. The middle column is what happens if it goes wrong. The right column is our honest verdict on whether a homeowner should attempt it.
| Task | Failure Mode | DIY Verdict |
|---|---|---|
| Lubricating rollers, hinges, tracks | Slightly messy hands | Safe to DIY |
| Replacing bottom weatherstripping | Water infiltration if installed crooked | Safe to DIY |
| Cleaning tracks with a rag | None | Safe to DIY |
| Re-aiming opener photo-eye sensors | Door reverses, but nothing dangerous | Safe to DIY |
| Replacing plastic rollers with nylon | Door could bind if sized wrong | DIY-favorable with care |
| Tightening a loose hinge bolt | Minor | Safe to DIY |
| Replacing a torsion spring | Lethal energy release | Professional only |
| Replacing extension springs | Lethal energy release, especially indoors | Professional only |
| Replacing or re-tensioning cables | Cable whip, laceration, crush | Professional only |
| Adjusting torsion spring tension | Winding bar throw, personal injury | Professional only |
| Replacing opener motor, gear, or logic board | Door can be left unsecured or mis-calibrated | Professional only |
| Aligning or replacing opener rails/trolley | Door jams open or shut | Professional only |
| Replacing a bent bottom panel | Door can drop off track | Professional only |
| Converting extension spring system to torsion | Full-system re-engineering | Professional only |
Notice how small the safe list is. That’s deliberate. The safe DIY work on a garage door is all low-energy and peripheral. It touches what you can see, reach, and handle without fighting stored tension. The unsafe list is everything that carries load. And the load-carrying items are exactly the ones that fail, because preload and weather cycles fatigue them over years.
Homeowners in Linden Hills tend toward older housing stock and long-attached garages, and many of those doors use one spring system or the other depending on which decade they were installed. If you’re not certain which type of system you’re looking at, treat it as the professional-only side of the table until someone qualified can tell you for sure.
The Physics of Torsion Spring Tension
Here’s why “I’ll be careful” isn’t a safety margin. A torsion spring is a coiled steel bar loaded in rotation. When it’s properly wound, it holds the entire weight of the door in counterbalance – so the door is essentially weightless to lift, but there’s hundreds of pounds of stored rotational energy sitting behind the winding cone on the shaft. That energy is not “working” while the door is closed. It’s sitting there, loaded, waiting.
When you release a spring, that energy comes out all at once. A winding bar or spring end can move faster than your hands can react. This is why spring replacement is one of the only home repairs where experienced tradespeople get seriously hurt. It’s not that they don’t know what they’re doing – it’s that the failure mode doesn’t leave room for a reaction. The energy release is measured in fractions of a second.
Now layer the Linden Hills climate on top. Cold winters make spring steel more brittle, and freeze-thaw swings – which we get plenty of through a Minnesota winter – force the spring to cycle between contracted and expanded states with varying moisture around the door. A spring that’s been in service for years has accumulated fatigue that isn’t visible. Your door might work smoothly every day and then fail during a cold snap because a microscopic stress crack finally propagated.
Two features of this physics matter for the DIY question:
- You can’t test for spring condition safely. The only way to know a spring’s remaining life is to replace it and see how it behaves. There’s no visual cue before failure.
- The preload is invisible. The spring looks quiet and still. It doesn’t look like a loaded spring. This is why first-time DIYers chronically underestimate the energy involved.
If your door is stuck because a spring snapped, do not try to force it open. Call for emergency service. The spring’s job is to counterbalance the door, and with it gone, the full weight is suddenly on you and on the opener – which itself can break or fall. This is one scenario where the right move is to pick up the phone rather than pick up a tool.
The Tools Nobody Shows You on YouTube
The tool list for a spring job looks short until you know what each tool is actually for. Most tutorial videos skip this, which is a big part of why people think a spring job is a weekend project. Let’s count what you actually need:
- Two winding bars, matched to your winding cone’s size. Winding bars are solid steel, cut to a specific length and diameter. There’s no universal size, and a cheap substitute – a screwdriver, a piece of rebar – is where most DIY injuries start. The bar is your only tool for holding the loaded spring while you turn the set screw.
- A heavy-duty socket wrench and correct socket sizes. Springs are held by set screws torqued to manufacturer spec. A small socket wrench won’t cut it, and guessing at torque is dangerous.
- Cable tension gauge. Cables on a torsion system are held by drums on the shaft. Tension needs to be verified after a spring replacement, and most homeowners don’t own this.
- Torque specs for the specific spring and drum in your door. These come from the manufacturer’s documentation for your door model – not from a video, not from the box. If you’re running a Raynor or a Clopay door, the specs come from that manufacturer’s sheet.
- A winding bar holder or locking pliers to hold the shaft. You cannot let the shaft turn during the changeover.
The reason to list this is not to try to discourage you. It’s so you can hold the parts list up next to what you actually own and judge honestly. If you’re missing the winding bars or the torque spec for your door, you’re missing the safety margin. YouTube makes the job look like a two-tool operation. It isn’t.
We carry winding bars and torque sheets for every spring we replace, the same way we carry the right openers for the drive systems we work on. Manufacturer-fluent work means we’re not improvising around a system we haven’t seen. Whether your opener is a Genie or a Chamberlain, whether your door is a Raynor or a Clopay, the right tool for the job is already in hand when we show up.
The Narrow Category Where DIY Actually Saves Money
We’re not going to tell you to call a professional for every moving part of your door. That would be dishonest, and it’s not how we structure our own service calls. There is a real category of work where an experienced homeowner saves money and takes on negligible risk. Here’s the honest version of it.
Genuinely safe DIY work on a garage door:
- Lubricating hinges, rollers, and the torsion shaft with a manufacturer-appropriate lubricant
- Washing the door and cleaning debris out of the tracks with a rag
- Replacing bottom weatherstripping and side seals
- Re-aiming or cleaning the opener’s photo-eye sensors
- Tightening loose hinge or bracket bolts that are not attached to spring or cable hardware
- Replacing worn nylon rollers (one at a time, with the door down, following the roller position carefully)
- Straightening a door track that’s been bumped (small bends only, with the door fully up and the opener disengaged)
- Replacing opener remote batteries and reprogramming remotes
What that category explicitly excludes: anything touching a torsion or extension spring, anything touching a cable or cable drum, anything touching the opener’s motor, gear, logic board, or trolley, anything where the door or panel is bent or off-track, and anything requiring you to be under the door while it’s up.
The line is energy. If the task puts you in contact with stored tension, it’s not in the DIY category. If it doesn’t, you can probably do it. We’ll often walk a homeowner through the safe list over the phone on a service estimate call because we’d rather they handle the small stuff and call us for the rest.
If you’re in the safe category and have a plan, we’re happy to hear about it. But if you’re on the fence about your rollers, your track, or whether the door is running true, use the visit to have a specialist look at it. Better to know your door is right than to hope it is. A Garage Door Repair Linden Hills service call can catch a small problem before it becomes a spring failure.
Warranty and Insurance Implications in Linden Hills
Here’s a factor most DIY guides ignore entirely. Self-performed work on a garage door can cost you more than the repair if it goes badly, not because the repair was hard, but because of what it does to your coverage and warranty.
Manufacturer warranty. Door and opener warranties from LiftMaster, Chamberlain, and the other major manufacturers typically exclude damage caused by improper installation, adjustment, or repair. If you replace a spring yourself and it fails again, taking out a panel with it, there’s a strong chance that claim is denied – not because the manufacturer is unreasonable, but because they can’t distinguish a proper job from an improper one once the door has been touched by someone without a dealer or certified tech on record.
Homeowner’s insurance. Insurance coverage on a garage door claim depends on the cause. If your spring fails and hits your car, most policies cover it. If a spring fails because of something you did, the claim gets murkier. What we’ve seen consistently is that homeowner’s policies are written to cover sudden accidental damage, not damage from an attempted repair. If you’re not sure how your policy reads, call your agent before you start. This isn’t advice from a garage door company – it’s a question about insurance – but the answer matters before you pick up the winding bar.
The open question on your house’s resale. If you ever sell your Linden Hills home, an inspection will look at your garage door, and a repaired spring with no documentation on record may prompt questions. A professional service invoice showing what was replaced and when is a small piece of paper that eliminates that uncertainty.
The short version: DIY is only cheap if it doesn’t void anything. For low-risk tasks that’s a non-issue. For spring or opener work, the warranty exposure usually tips the math hard toward professional service.
How Linden Hills Climate and Housing Affect Your Door
Linden Hills doors live through a specific set of stresses that matters for this whole conversation. Minnesota winters are cold, the freeze-thaw swings are real, and the neighborhood’s older housing stock means a lot of doors in Linden Hills have decades of service behind them. Here’s what that does to a door.
Cold-weather spring fatigue. Torsion springs are rated by cycle count – the number of open-and-close cycles before failure. Cold temperatures make steel more brittle. Freezing and thawing add cycling stress even on days the door doesn’t open. A spring in Linden Hills might see the same door cycles as a spring in a mild climate but fail faster because the temperature swings add stress.
Roller and track wear. The freeze-thaw cycle works sand, grit, and moisture into tracks and rollers. Rollers that get stiff in the winter get pulled harder, which stresses the opener. That’s one reason we see more opener repair calls in Linden Hills in the dead of winter than in summer – the drive is working against a door that’s fighting it.
Wood versus steel doors. Older housing stock in Linden Hills includes a fair number of wood-panel doors. Wood moves with the seasons and takes more maintenance on the weatherstripping and bottom seal than steel. A worn wood-door seal lets in water and cold air, which stresses the whole system.
Detached and long-attached garages. Either way the door itself operates the same, but if the garage is unheated, every component gets the full seasonal swing. If it’s heated, you get more condensation on steel components. Both of these affect which parts fail first and how often. If you’re wondering what a specific repair scope looks like in your part of Linden Hills, a free estimate from a local tech will be able to give you a straight answer about what usually fails on doors similar to yours.
None of this changes the DIY-versus-pro answer, but it does change the consequences. In milder climates a spring failure might be inconvenient. In Linden Hills in January it’s a security and access problem, which is why emergency service matters here more than in most places. The 2026 Minnesota winter will happen, and the doors that have never had a lifecycle assessment will be the ones that fail.
What a Professional Actually Brings to the Job
When we say “professional” we mean something specific, and it’s not just having the right tool. It’s having the right tool, the right spec, and the right training to do the job without improvising. That matters most on the tasks in the risky half of the matrix.
On a typical spring job, here’s what actually gets done:
- Identify the exact spring and door combination. The spring is rated for your door’s weight and dimensions, matched to your door height and the torsion drum on your shaft. Anything off and the door will either be too light (spring too strong, opener fights the door) or too heavy (spring too weak, you feel the weight on the way up). We match the spring to the door model and not “close enough.”
- Disengage the opener and secure the door. The door gets locked in the down position, and the opener is disengaged so it can’t fire during the changeover.
- Clamp the shaft and unwind in a controlled way. This is where the winding bars come in. The shaft holds hundreds of pounds of stored tension and each step is deliberate. This is the step that the DIY video makes look easy and is not.
- Replace the spring, re-wind to the specified turns, and re-torque the set screws. The turns count comes from the spring manufacturer’s spec, based on door height and spring size – not from a rule of thumb.
- Verify cable tension and balance. The door should stay at the halfway point on its own when disconnected from the opener. If it doesn’t, the spring tension is wrong, not close.
- Run the opener, retest the safety reverse, and check the door travel. In Linden Hills, we always test the safety reverse because if it fails and the door closes on something, the consequences are immediate.
Compare that to the DIY version most people put together – wrong spring by weight, no winding bar, no torque spec, no balance check. The floor of the failure mode here is a door that cycles harder every day until it breaks, which is why the warranty math so heavily favors the pro. A proper garage door repair on a spring or cable isn’t just about getting it working; it’s about getting it working safely for the years ahead.
When it’s an opener problem, the same logic applies. A garage door opener repair on a LiftMaster or Chamberlain unit involves model-specific limits, force settings, and safety reverse calibration. Getting those wrong makes the opener unsafe. And when the door itself needs replacing, a garage door installation needs the right sizing, track, and spring spec to match – it’s not the sort of thing that comes together following along with a video.
Common Mistakes to Avoid
- Using a screwdriver or rebar in place of a proper winding bar. Winding bars have the correct diameter to fit your torsion cone and enough length to brace against your body while the spring is under load. A screwdriver will slip out of the cone, and when it does, the spring is going to unload at the wrong time.
- Replacing only one of a matched pair of springs. If your system has two springs, they’re matched to a calculated combined load. Replacing only one leaves the door unbalanced and stresses the newer spring. The pair is usually replaced together.
- Buying a replacement spring by eyeball instead of by door spec. Lookalike springs can be rated differently even when they’re the same physical length. Over and under-rated springs both cause real problems; the right spec comes from your door’s manufacturer.
- Forgetting to disconnect the opener before doing any spring or track work. The opener can activate on its own at the worst moment, and there’s no safe version of that scenario. Disconnect it, lock it out, and unplug it. Don’t rely on the remote being off.
- Testing the door by hand while it’s still on the opener. The balance test only works with the door disengaged. Otherwise the opener’s drive is holding the door up and you can’t tell whether the springs are actually doing their job. That’s the whole point of the test – and the whole point of doing it right.
- Letting Linden Hills winters do the walking on maintenance. A door that hasn’t been lubricated or inspected through a Minnesota freeze-thaw season is going to fail at the worst possible time. A door that’s been lubed, checked, and balanced runs smoothly through the winter. It’s the difference between a routine maintenance call and an emergency.
See the difference
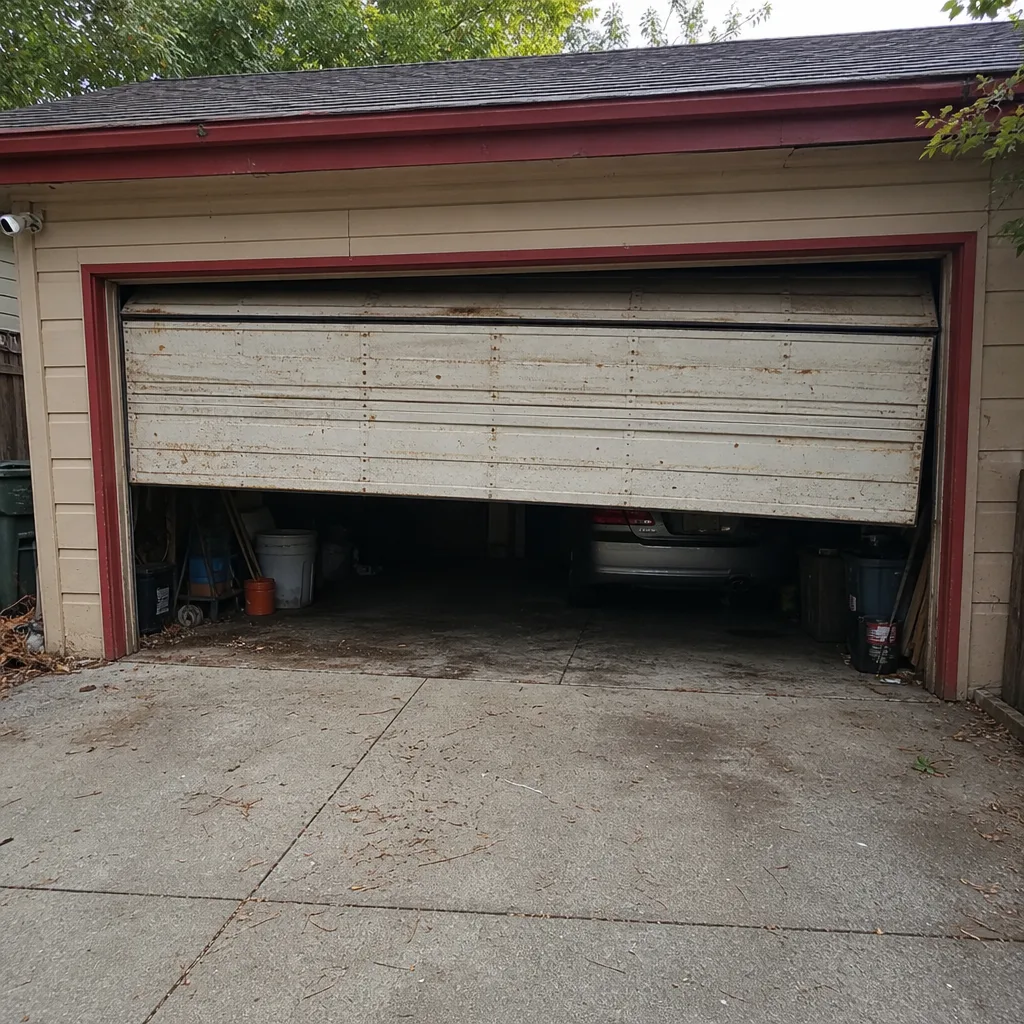 Before
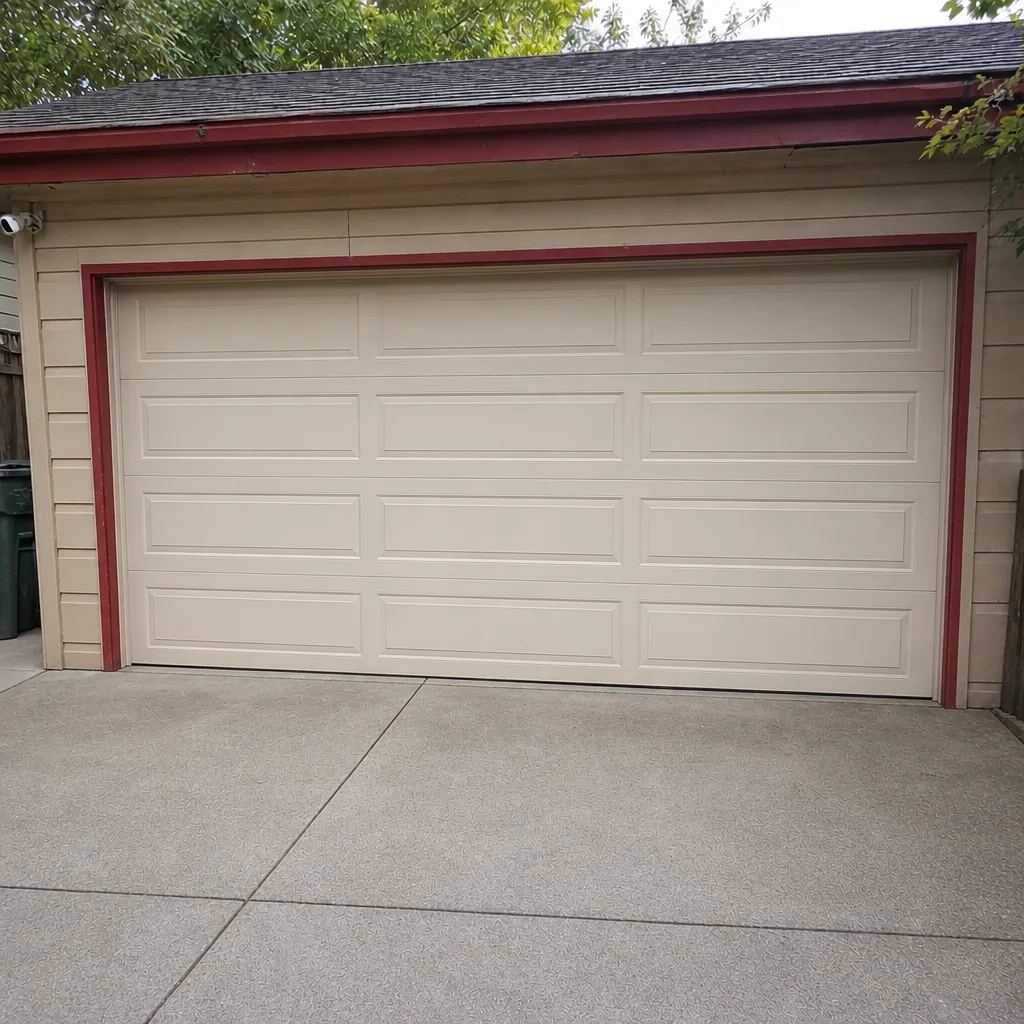 After
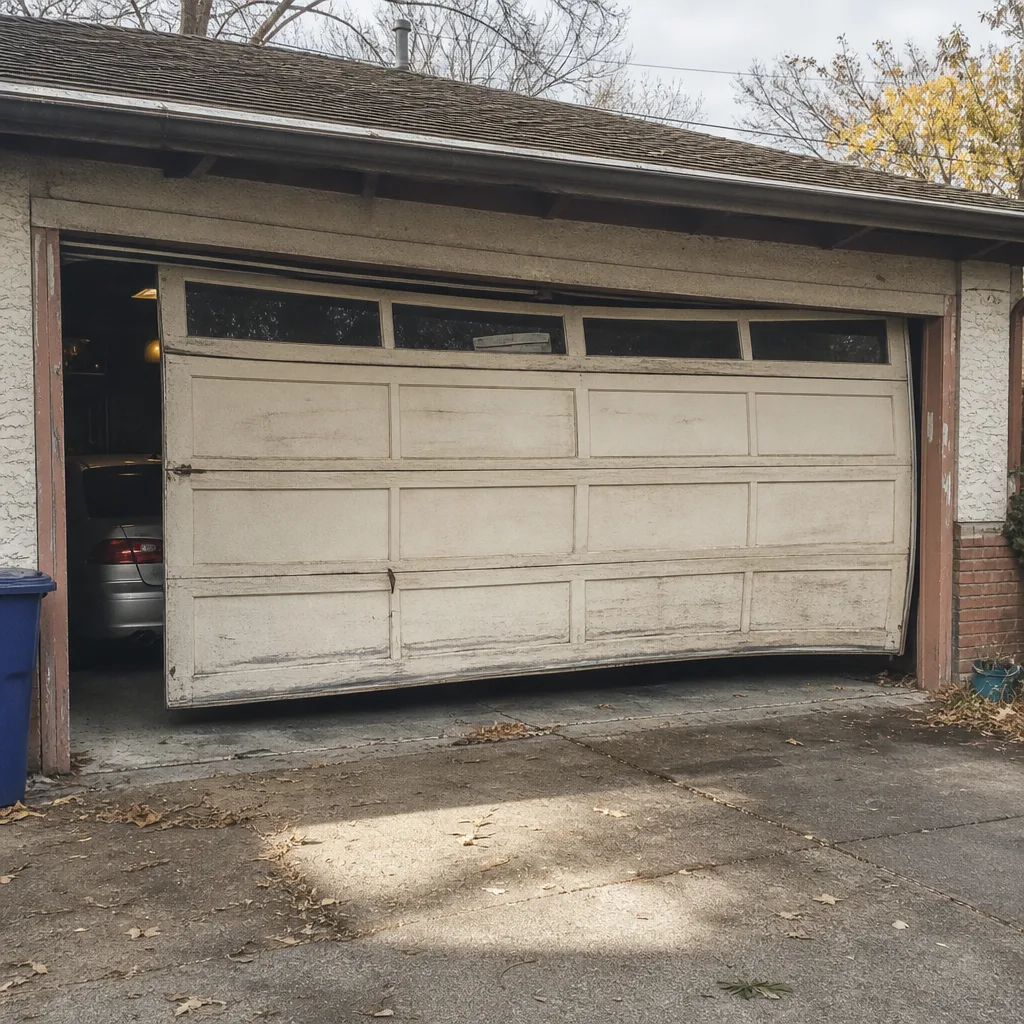 Before
 After
 Before
 After
When to Call a Professional
Call us when the task involves a torsion or extension spring, a cable or cable drum, or an opener’s motor or logic board. Call when a door is off-track, bent, or won’t stay in one position. Call when the door opens by itself, reverses on its own, or when the safety reverse test fails. Call when someone’s already been hurt, when you’re not sure what’s wrong, or when you’re not confident the door is right. Call when it’s a spring that’s already snapped and the door is stuck – that one doesn’t wait.
We work on every major residential brand, including LiftMaster, Chamberlain, Genie, Raynor, and the other manufacturers we mention throughout this guide, so a door that came with the house is rarely a problem for us to look at. Garage Door Repair Linden Hills offers free estimates in Linden Hills – call (855) 710-3186 to get one scheduled.
Frequently Asked Questions
Most spring replacement jobs in Linden Hills fall in the broad range of about $150 to $350 for a single torsion spring, and roughly double that when both springs in a matched pair are replaced together. Opener work, cable repair, and panel work are quoted separately based on what the door actually needs. The written estimate is the final price. Call (855) 710-3186 for an exact quote – estimates are free.
We don’t recommend it. Torsion springs hold enough stored energy to cause serious injury in a fraction of a second, and the failure mode doesn’t give you a chance to react. Homeowners without a winding bar, a torque spec for their door, and a balance test plan are missing the margin that makes a dangerous job safe. Call (855) 710-3186 and we’ll give you a free estimate so you can compare the real cost against the risk.
Lubricating the rollers, hinges, and shafts, cleaning the tracks, replacing bottom weatherstripping, and re-aiming the safety sensors are all reasonable DIY tasks. They’re low-energy, they don’t touch spring or cable tension, and a mistake is unlikely to cause injury or damage. Anything else should be assessed by a specialist. Call (855) 710-3186 and we’ll tell you honestly whether your issue is on the safe side of the line or the professional side.
No. The written estimate you agree to before any work starts is the price for the work described on it. If a technician finds an additional problem once the door is open – say, a bent bottom panel or a worn cable – you’ll get a separate written quote for that additional work and it only gets done with your say-so. Call (855) 710-3186 for a free estimate.
Yes. Emergency garage door service is a real service we offer, not an upsell you get routed to for convenience. If a spring snaps and your door won’t lift, if it’s jammed open, or if it’s stuck shut and you can’t get your car out, call so we can get a specialist to you as quickly as possible. Call (855) 710-3186 – we’ll get you on the schedule.
The local professionals we connect you with are licensed and insured as their state requires, and our technicians have up to 12 years of experience. We work only on residential garage doors and openers, so every technician we dispatch is a garage door specialist rather than a general handyman. Call (855) 710-3186 for a free estimate.
The Bottom Line
The DIY vs professional question on a garage door isn’t really about your skill. It’s about where the line falls between tasks that forgive a mistake and tasks that don’t. The safe DIY list is short and specific: lubrication, weatherstripping, sensor alignment, and a few peripheral cleanups. Everything that holds tension belongs to the specialist. Linden Hills homes get the full Minnesota freeze-thaw treatment on their doors, which makes spring and cable failures more common and the stakes more expensive when they go wrong. If you’re not sure which side of the line your repair is on, ask before you start. One call, one honest answer, and your door stays safe.
Contact Us
If you’re in Linden Hills and you’d rather have a specialist look at the door than guess, call Garage Door Repair Linden Hills at (855) 710-3186 for a free estimate. We can look at the springs, the cables, the panels, and the opener together – one call covers the whole door and the drive system – and give you a written price before any work starts. Whether you’re on the DIY fence or you already know you want help, we’d rather talk to you now than after a failed repair.
Written by the team at Garage Door Repair Linden Hills.