Last updated November 21, 2026
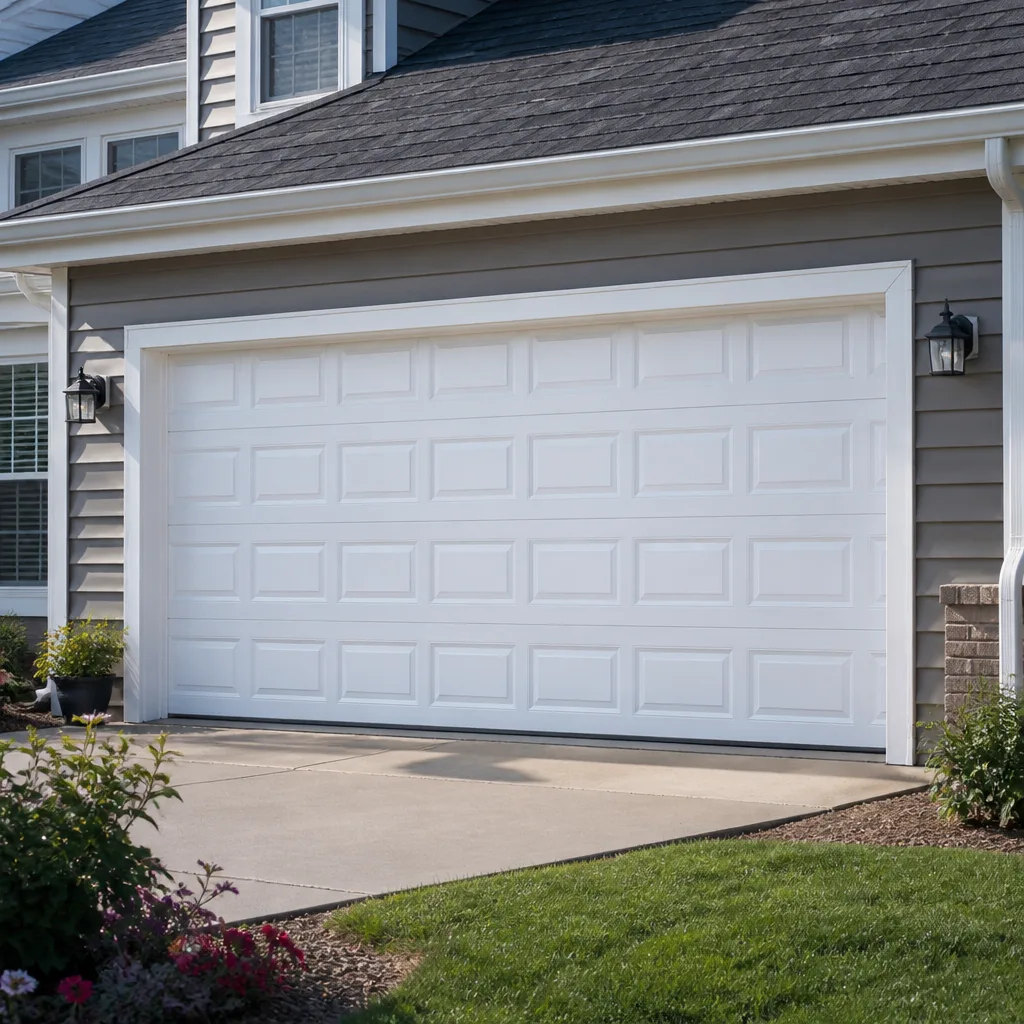 Raised-panel steel
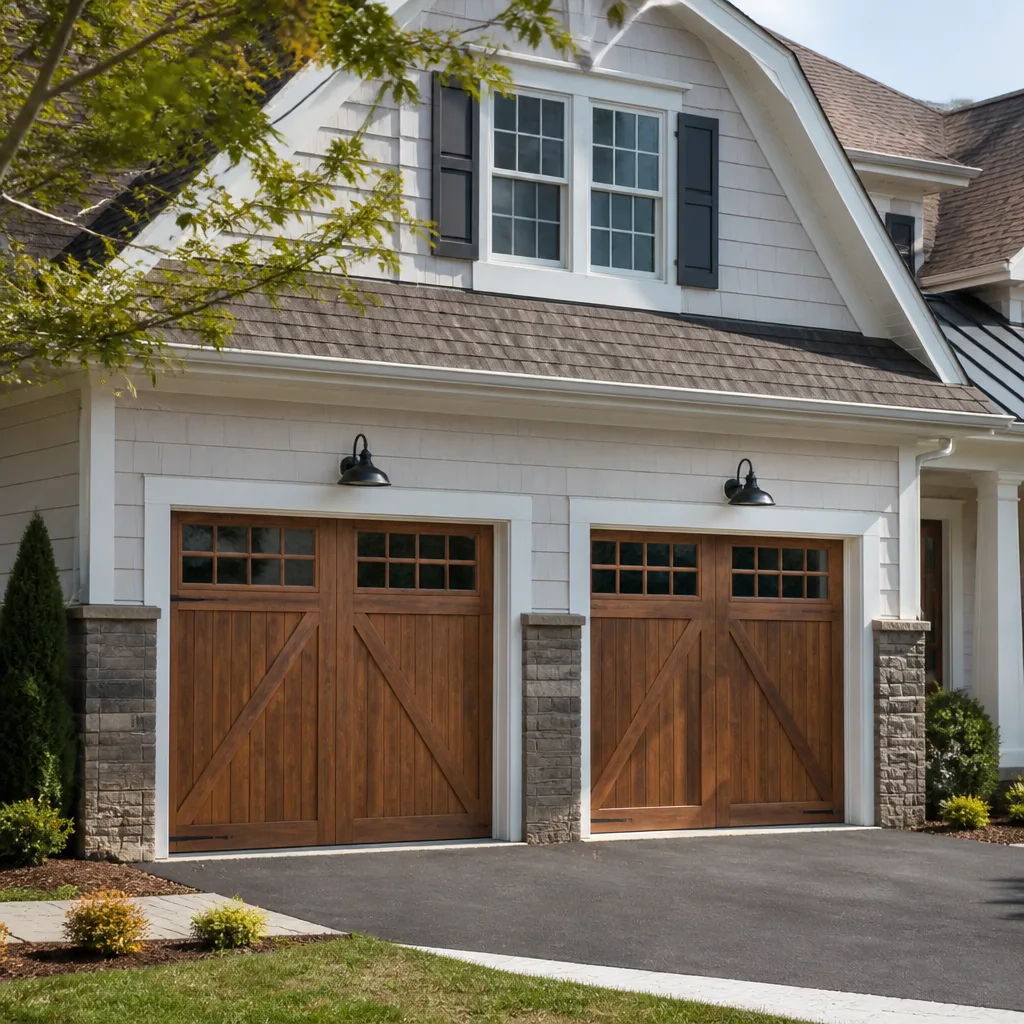 Carriage house
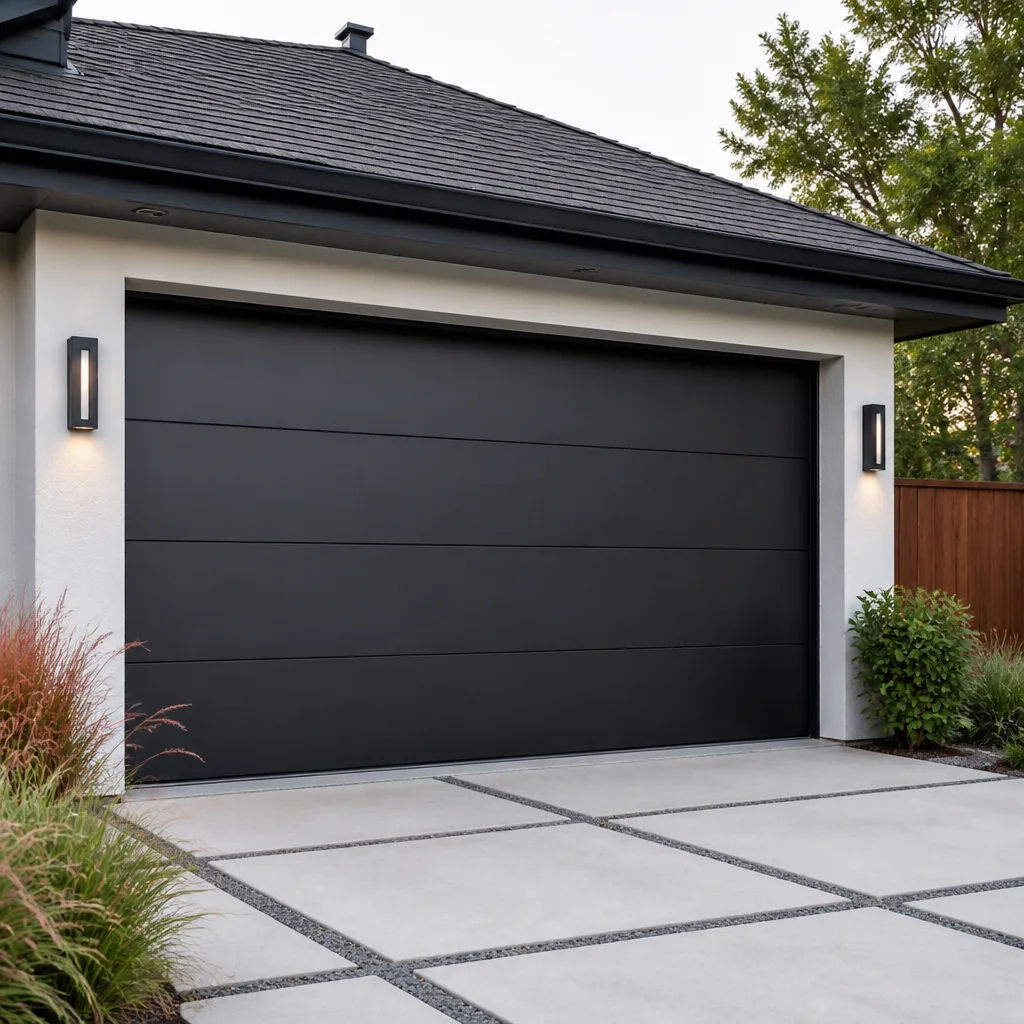 Modern flush
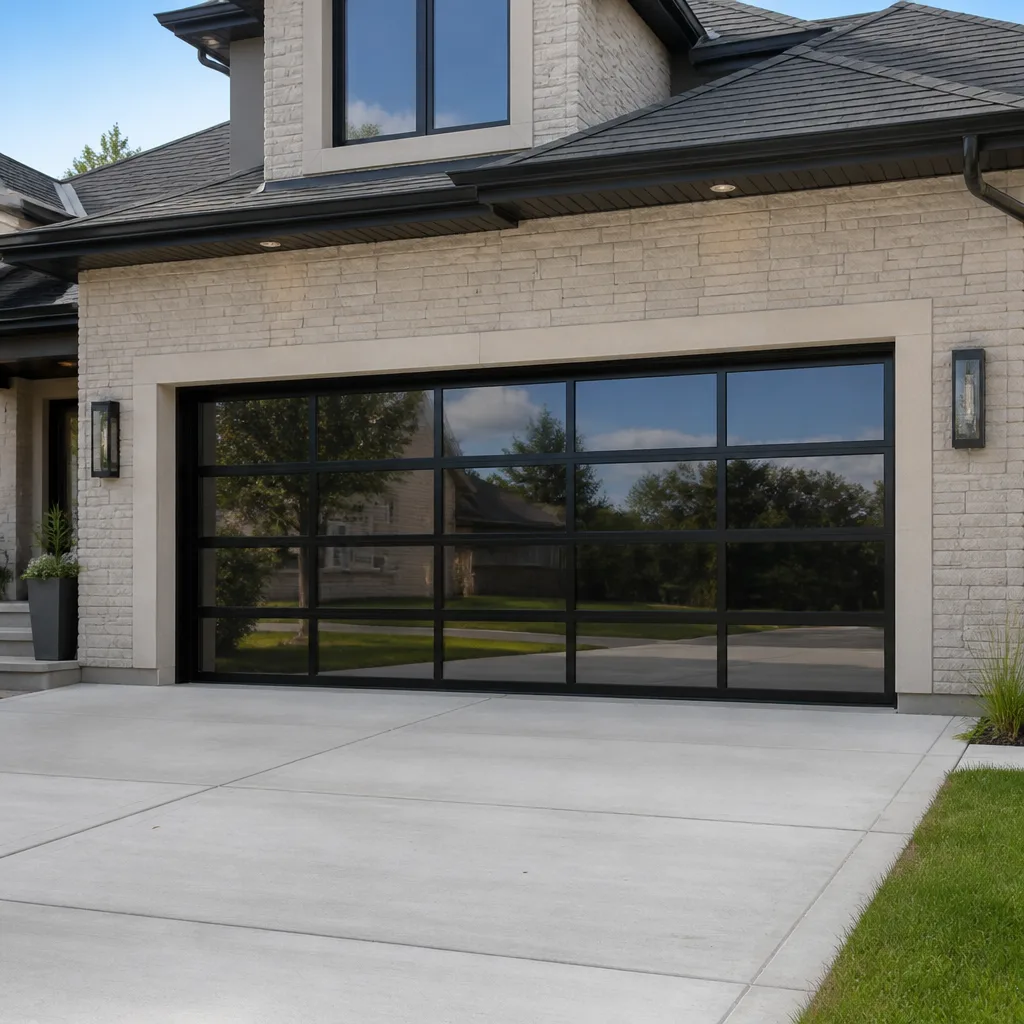 Full-view glass
 LiftMaster openers
 Chamberlain openers
Full 25-point door and opener safety check with every visit - springs, cables, rollers, tracks, and your LiftMaster or Chamberlain opener included
You get a price before we start. It does not change when the pro arrives.
Get your free estimateGarage Door Repair Maintenance Checklist for Linden Hills Homeowners
Most garage door failures in Linden Hills don’t start with weather. They start with a $4 nylon roller that nobody looked at for years, quietly wearing a groove into a $200 track. That’s the part people miss: the cheap component takes out the expensive one, and the bill grows in the wrong direction. A maintenance checklist only works when it’s ordered by consequence, not by convenience. So we’ve built this one that way – the things that cause the most damage if you skip them come first. You’ll learn what to inspect, the specific signs that a spring is close to failing, how to test your opener’s safety reverse in under five minutes, and where lubrication actually belongs on a door in a Minnesota freeze-thaw climate like ours.
Quick Answer
A garage door maintenance checklist for Linden Hills homeowners should rank tasks by what fails worst when neglected: spring tension and cable condition first, then rollers, hinges, and track alignment, then weatherstripping, then lubrication, then opener force and safety-reverse testing. Inspect springs and cables monthly by sight only, lubricate moving metal parts every six months with a lithium or silicone-based product (never WD-40), and run the auto-reverse and force tests once a month. Anything involving spring tension or cable work belongs to a trained technician, not a homeowner.
Styles & brands we work with
- Raised-panel steel
- Carriage house
- Modern flush
- Full-view glass
- LiftMaster openers
- Chamberlain openers
Table of Contents
- Why the Order of Your Checklist Matters More Than the Tasks
- Spring Tension: The First Thing You Check, and the One You Never Touch
- Cables, Rollers, and Hinges: The Cheap Parts That Wreck the Expensive Ones
- Track Alignment and Door Balance
- Weatherstripping Checks Built for Freeze-Thaw Cycles
- Lubrication: What to Use, Where, and How Often in Minnesota
- Opener Force and Auto-Reverse Tests You Can Run in Five Minutes
- A Seasonal Schedule That Fits Linden Hills Weather
Why the Order of Your Checklist Matters More Than the Tasks
Most printed garage door checklists are alphabetical or cosmetic. Check the springs, check the rollers, check the paint – it all reads the same weight. In practice, the parts are not equal. A worn roller is a nuisance. A worn roller that wears through a track is a repair that costs several times more and can leave a door hanging crooked, which puts stress on the springs and cables that weren’t designed for it. That’s the cascade we want you to interrupt.
We rank maintenance tasks by a simple question: if you skip this, what’s the worst realistic outcome, and how much does it cost to fix? By that measure, spring and cable inspection sits at the top because the consequences are both expensive and dangerous. Rollers, hinges, and track alignment come next because they’re the wear items that transfer stress into the rest of the system. Everything below that – lubrication, weatherstripping, opener settings – is about protecting the investment and keeping the door quiet and sealed.
This matters more in Linden Hills than in a lot of places, because our doors work harder than people assume. A door in this neighborhood runs through hard freezes, thaws, and a summer humidity swing that loosens and tightens wood framing, seals, and hardware year after year. The freeze-thaw cycle is the quiet force behind most of the wear we see. So a checklist built for a mild climate won’t catch the failures that actually happen here.
Here’s the short version of the ranking, so you can keep it in your head:
- Springs and cables – skip it and you risk a dangerous failure and a major repair.
- Rollers, hinges, and track – skip it and a small wear item damages a big structural part.
- Weatherstripping and seals – skip it and you get water intrusion, drafts, and pest entry.
- Lubrication – skip it and everything above wears out faster.
- Opener force and safety reverse – skip it and a safety feature may not work when it counts.
Work top to bottom and you’re always putting your attention where a miss does the most damage. That’s the whole thesis of this guide, and the rest of it walks through each item in that order.
Spring Tension: The First Thing You Check, and the One You Never Touch
A torsion spring that’s within about 10% of failing usually shows it before it breaks – but you have to know what to look for, and you have to look without touching. This is where we slow down, because springs are the most dangerous component on a residential door and the one homeowners most often get wrong by trying to help.
What to look for, by sight only
- A visible gap in the coil. Run your eye along the length of the torsion spring above the door. A clean separation or a section that looks stretched thin compared to its neighbors is a warning sign.
- Rust streaks or dark discoloration along the coil, especially near the ends. Corrosion weakens the wire where it’s under the most stress.
- A door that feels noticeably heavier when you lift it by hand with the opener disconnected – a sign the spring has lost tension.
- A door that slams down or won’t stay up at the halfway point. That’s a balance problem, and a tired spring is a common cause.
- Loud popping or snapping sounds when the door operates. Springs don’t fail quietly.
If you see any of those, stop operating the door and get it looked at. Do not try to adjust the tension yourself, and do not attempt to wind or unwind a torsion spring with a pair of screwdrivers – that is how people end up in the emergency room. Springs are under enough stored force to break bones and cause serious injury when they let go. This is genuinely a trained-professional job, full stop.
Why spring repair is its own service
We treat spring repair as a dedicated service rather than a side task, because it demands the right winding bars, the right technique, and a working knowledge of how a specific door’s weight maps to its spring size. Our technicians have up to 12 years of experience with exactly this kind of work, and we handle both torsion and extension setups. When a spring needs replacing, a matched pair is usually replaced together – replacing one of a pair tends to just move the failure to the other spring. If you want the full picture on pricing and turnaround, our garage door repair page covers it. The short version: a single-spring replacement typically runs about $180 to $340, and a matched pair is roughly double that, because a pair is two springs.
Linden Hills homes with older wood doors often carry heavier panels than a modern steel door of the same size, and heavier panels mean the springs work harder. If your door is original to the house and you’ve never had the springs looked at, that’s a good reason to have a technician check them rather than just eyeballing them from the driveway.
Cables, Rollers, and Hinges: The Cheap Parts That Wreck the Expensive Ones
Cables, rollers, and hinges are the wear items that transfer stress through the whole door. They’re cheap to replace and expensive to ignore. This is the part of the checklist where a homeowner can genuinely do useful, safe inspection work – as long as you know what “bad” looks like.
Cables
Look at the cables that run down each side of the door. What you’re checking for:
- Fraying or broken strands anywhere along the length – a cable that’s down to a few strands is close to letting go.
- Uneven tension between the two sides, which you can spot by watching whether the door lifts level or cocks to one side.
- Rust or kinks, especially at the drum where the cable winds.
- Cable slack or a cable off its drum – stop using the door if you see this.
Cables are under the same kind of tension as springs, and a snapped cable can whip with real force. Inspect them by sight. Don’t grab, pull, or try to re-seat a cable yourself.
Rollers
Rollers are the $4 part from the opening of this guide, and they’re the most common cause of premature wear we run into in Linden Hills. There are two types – nylon and steel – and both wear, just differently. Check each roller as the door sits closed and again partway up:
- Spin test. With the door closed, try to spin each roller by hand. A healthy roller spins freely and smoothly. A worn one grinds, wobbles, or won’t turn.
- Flat spots. Look for flat or worn edges on the roller surface, which cause the door to drag and chatter.
- Loose stems. A roller that wobbles on its stem is transferring sideways force into the track – this is the cascade we keep warning about.
- Cracks in nylon rollers. Nylon gets brittle in cold weather, and a cracked roller can shatter under load.
Replacing worn rollers is inexpensive and is one of the highest-value maintenance tasks on the door. It also protects the track, which is the expensive part.
Hinges
Hinges connect the door panels, and they take a beating every cycle. Look for loose screws (tighten them by hand with a screwdriver), bent or cracked hinge plates, and hinges that have pulled away from the panel. A sloppy hinge lets panels shift, which throws off the whole door’s alignment and loads the rollers unevenly. We work on doors from Clopay, Amarr, Wayne Dalton, and Raynor, among others, and the hinge hardware varies by make – so when a hinge is genuinely failing, matching the right replacement matters.
Track Alignment and Door Balance
The track is the frame your whole door rides in, and it doesn’t need much maintenance – but when it’s off, everything downstream suffers. Checking alignment is low-effort and catches problems before they become track replacements.
Visual track check
- Look down the length of each vertical and horizontal track. It should be straight and parallel. Kinks, dents, or bowed sections are a problem.
- Check the gap between the track and the door edge is even on both sides. An uneven gap means the track has shifted or the door is out of square.
- Look for loose track brackets and tighten the bolts by hand where you can safely reach them.
- Never bend a track back into shape yourself – a track that’s bound up or badly bent needs a technician, because forcing it can damage the door panels or the rollers.
The balance test
A balanced door is the foundation of everything else, and it’s a test any homeowner can run safely:
- Close the door and pull the emergency release cord to disconnect the opener.
- Lift the door by hand to about halfway open.
- Let go gently. The door should stay roughly where you left it, maybe drifting slowly.
- If it slams down or won’t hold its position, the springs are out of balance and the door needs professional attention.
- Reconnect the opener when you’re done.
A door that fails the balance test puts extra load on the opener, the cables, and the springs. It’s also a sign to put the door out of service until it’s looked at. For a deeper dive into what a stuck or off-track door means and how we handle it, our Garage Door Repair Linden Hills page walks through the common failure modes.
Weatherstripping Checks Built for Freeze-Thaw Cycles
Weatherstripping is the seal that keeps Minnesota weather out of your garage, and in Linden Hills it takes a specific kind of abuse: repeated freezing and thawing that hardens rubber, cracks vinyl, and pulls seals away from their mounting. Most checklists just say “inspect the weatherstripping,” which tells you nothing. Here’s what to actually measure.
Bottom seal
The bottom seal runs along the floor. Check it by closing the door and looking for daylight underneath – if you can see light, air and water are getting in. Then check the seal itself:
- Flexibility. Press the seal with your thumb. In cold weather it should still have some give. A seal that’s hard, brittle, or cracked has lost its ability to conform to the floor and needs replacing.
- Tears and gaps. Look for splits, chunks missing, or sections that have pulled out of the retainer.
- Contact with the floor. The seal should touch the floor evenly across the full width. A gap at one end means the door is out of level or the seal is worn unevenly.
Side and top seals
Run your hand along the side jambs and the top seal. Look for seals that have pulled loose from their nails or adhesive, hardened into a stiff strip, or cracked at the corners where freeze-thaw stress concentrates. A seal that’s coming away lets in cold air, water, and pests, and in a hard Minnesota winter that can mean ice forming along the door’s bottom edge, which then jams the door when you try to open it.
Frame and threshold
Check the wood or composite frame around the opening for soft spots, peeling paint, or gaps where it meets the siding. Water that gets behind the weatherstripping during a thaw and refreezes overnight is one of the more common causes of a door that sticks the next morning. If you find rot or a gap, that’s a repair worth doing before winter, not after.
Good weatherstripping is one of those things you don’t notice until it’s gone, and then it’s the reason your garage is cold and damp all winter. Replacing it is inexpensive, and it’s one of the highest-return maintenance items on the door.
Lubrication: What to Use, Where, and How Often in Minnesota
Most people lubricate the wrong parts with the wrong product, then wonder why the door still squeaks. Here’s the correction: WD-40 is a water displacer, not a lubricant, and it will actually strip the factory lubricant off your moving parts and attract dust. Use a lithium grease, a silicone-based spray, or a purpose-made garage door lubricant instead. In our freeze-thaw climate, the balance is to lubricate enough to protect the metal without attracting the grit that grinds parts down.
The right product for the job
- Rollers and hinges: a lithium-based or silicone spray lubricant applied sparingly.
- Springs: a light coat of lubricant along the coil to reduce friction and slow corrosion – but only on a spring that’s already been checked by a technician.
- Track: a very light application if anything, or none at all. Too much lubricant on the track attracts grit that wears the rollers. Many tracks do better kept clean and dry.
- Opener chain or screw drive: the manufacturer’s specified lubricant, applied per the opener manual.
- Never: WD-40 on rollers, hinges, or the track as a “quick fix.”
How often, for Minnesota temperature ranges
We recommend lubricating the moving metal parts – rollers, hinges, spring coils – about every six months, timed to the seasons that stress the door most. Do one pass in late fall, before the hard freeze sets in, so the door cycles smoothly through the coldest weeks. Do the second in spring, after the thaw, when grit and moisture have worked their way into the moving parts over the winter. In a Linden Hills garage that sees big temperature swings between a heated house and a cold garage, that twice-a-year rhythm matches the wear curve better than a once-a-year pass.
If your door squeaks or groans year-round despite regular lubrication, the source is usually a worn roller or a binding hinge, not a lubrication problem. That’s when the fix is a part replacement, not another spray.
Opener Force and Auto-Reverse Tests You Can Run in Five Minutes
Your opener has two safety features that matter more than any other setting: the auto-reverse test and the force setting. Both are homeowner-testable, and both should be run once a month. Five minutes, and you’ll know your door is safe.
Auto-reverse test
- Place a solid object – a 2×4 laid flat or a similar object – in the path of the closing door.
- Close the door using the opener or the wall control.
- Watch what happens. The door should reverse direction within a couple of inches of contacting the object. That’s a pass.
- If the door keeps going, the auto-reverse is failing and the opener needs adjustment or service before the door is used again.
Force test
- With the door connected and closed, hold the bottom edge of the door lightly as it starts to close.
- Resistance test. A properly set opener should reverse when it meets moderate resistance. If the door forces through your light resistance, the force setting is too high and needs to be turned down.
- Balance check first. Run this test only after the door passes the balance test above – a door that’s out of balance and a force setting that’s too high is a dangerous combination.
If your opener fails either test, get it serviced. LiftMaster and Chamberlain openers both have force settings that can be adjusted, and older units sometimes need the safety sensors cleaned or the travel limits reset. Our garage door opener repair page covers the troubleshooting side in more depth, including what to check if the door reverses for no apparent reason.
The other thing worth checking monthly is the safety sensors at the bottom of the tracks. Wipe them clean, check that the small indicator lights are on and steady, and make sure nothing is blocking the beam. Sunlight hitting one sensor can fool it, as can a spider web strung across the lens. These are the small things that cause the “my door won’t close” call we get most often in Linden Hills.
A Seasonal Schedule That Fits Linden Hills Weather
The consequence-ranked checklist gets easier to live with when you tie it to the seasons. Here’s how we’d sequence it for a home in this neighborhood, where the doors get a real workout from the weather.
Monthly (all year)
- Spring and cable visual inspection – sight only.
- Opener auto-reverse test.
- Safety sensor cleaning and alignment.
- Balance test on the door.
Late fall (before the hard freeze)
- Lubricate rollers, hinges, and spring coils.
- Check and replace bottom seal if it’s hardened or cracked.
- Run the door through a full cycle while listening for new noises.
- Test the force setting after any lubrication work.
Spring (after the thaw)
- Lubricate again to clear winter grit.
- Check side and top weatherstripping for winter damage.
- Inspect the frame for rot or gaps.
- Recheck track alignment and roller condition, since freeze-thaw can shift things.
Twice yearly (spring and fall)
- Full visual inspection of springs, cables, hinges, and track.
- Spin test on all rollers.
- Check that all track brackets are tight.
If your door has a specific quirk – a LiftMaster opener that’s been fussy, a Wayne Dalton door that’s never quite sat square – note it on the schedule so it gets looked at on the next visit. Consistency is what makes a maintenance checklist work, and a door that gets this rhythm will outlast one that’s only ever touched when something breaks. If you’re considering replacing the door rather than maintaining it, our garage door installation page explains what that decision involves in this market.
Common Mistakes to Avoid
- Treating all maintenance items as equally urgent. Alphabetical checklists don’t reflect consequence. Springs and cables come first because their failures are dangerous and expensive; lubrication comes later because it’s protective, not structural.
- Using WD-40 as a lubricant. It strips factory lubricant and attracts grit. Use a lithium or silicone-based product on rollers and hinges, and keep WD-40 for a rusty bolt in the shed, not the garage door.
- Trying to adjust or replace a torsion spring yourself. Springs are under dangerous stored force. This is the one item on the checklist that’s always a technician’s job, and the one most likely to send a homeowner to the ER.
- Ignoring worn rollers because they’re cheap. A $4 roller that wears through a track becomes a $200-plus repair. Replacing rollers early is one of the best returns on any maintenance dollar.
- Over-lubricating the track. Too much lubricant collects grit, which grinds the rollers faster. Keep the track clean and dry unless the manufacturer says otherwise.
- Skipping the weatherstripping until winter. In Linden Hills, a bottom seal that’s hard and cracked lets in water that freezes along the door’s edge – and then the door won’t open the next morning. Check it in fall, not after the first freeze.
- Testing the auto-reverse with your hand instead of an object. A hand test can be misleading. Use a solid object like a 2×4 and confirm the door actually reverses within a couple of inches. If it doesn’t, get the opener serviced before trusting it with a child or pet nearby.
- Mixing brands of opener and door hardware without checking compatibility. Some replacement parts fit a Clopay door and not a Wayne Dalton, or a LiftMaster opener and not a Craftsman. Match the part to the system before you buy.
See the difference
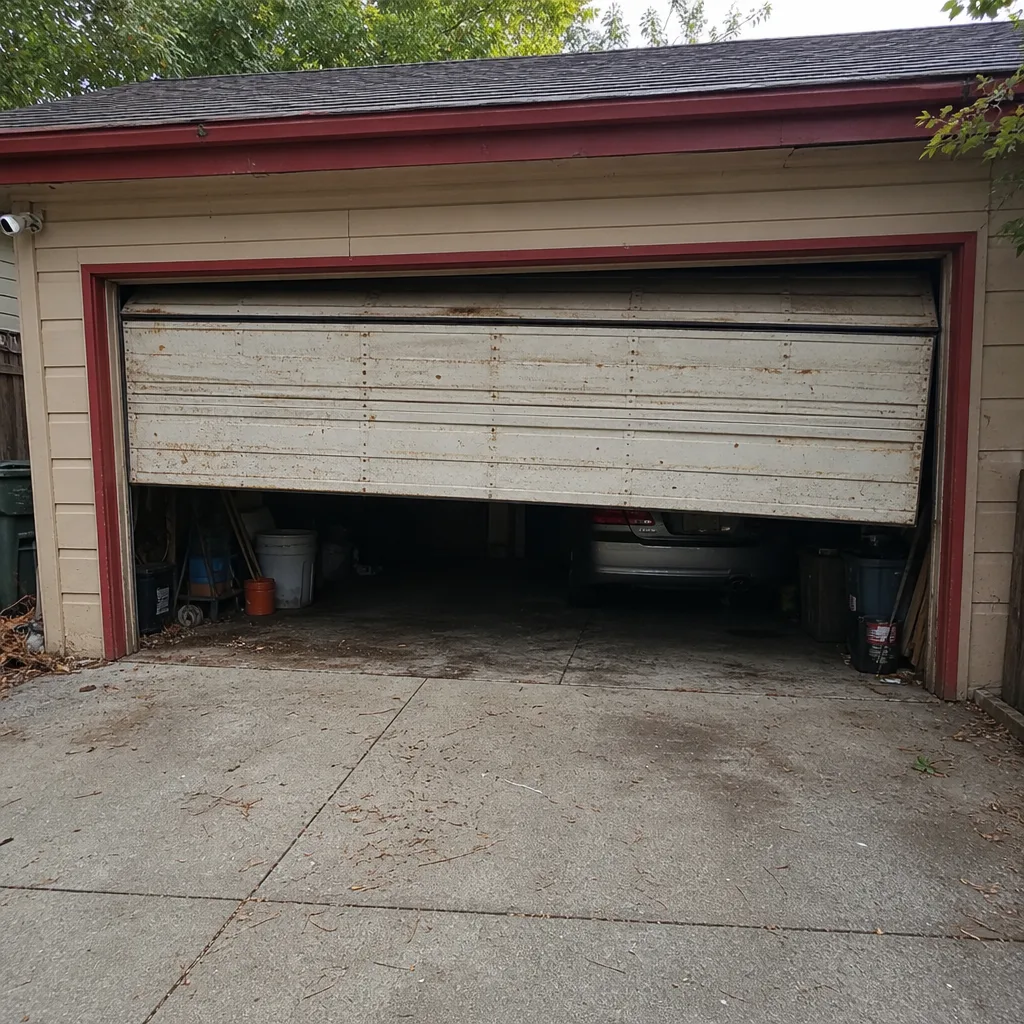 Before
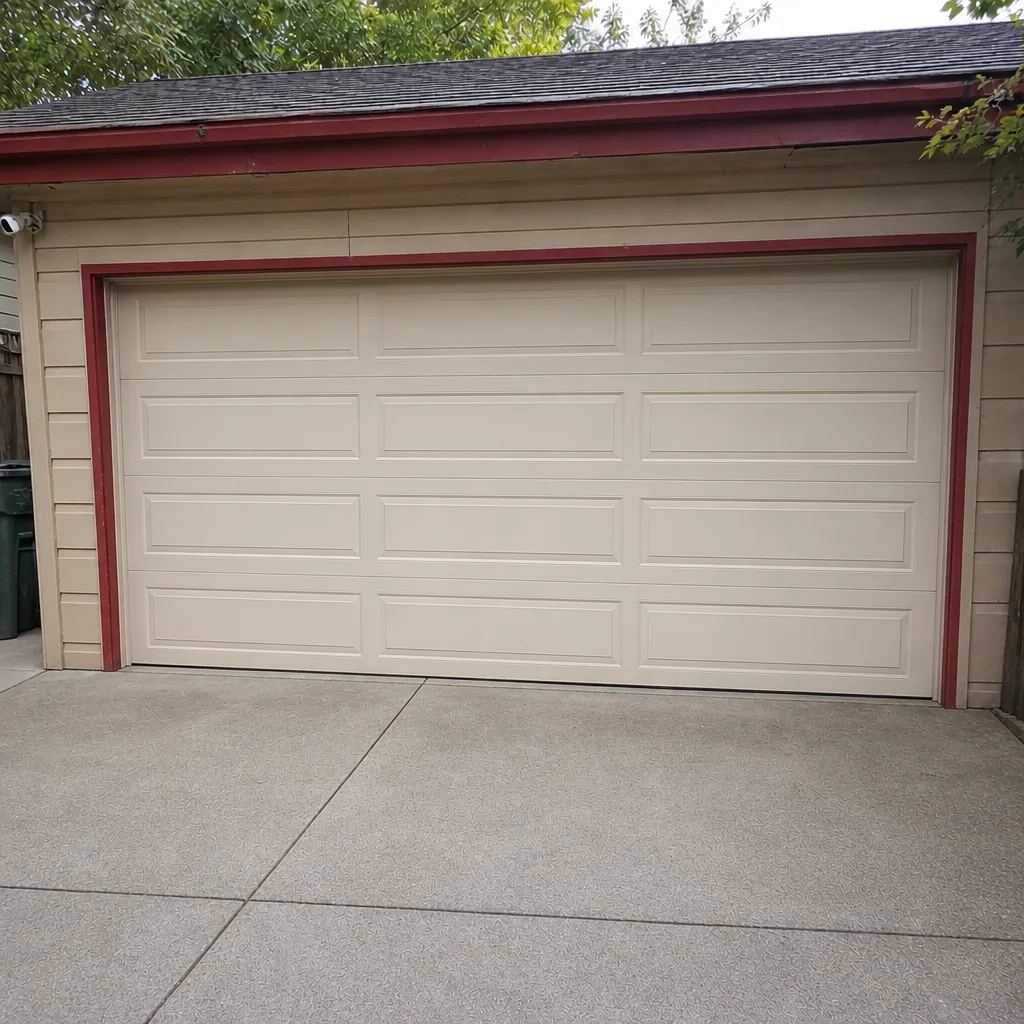 After
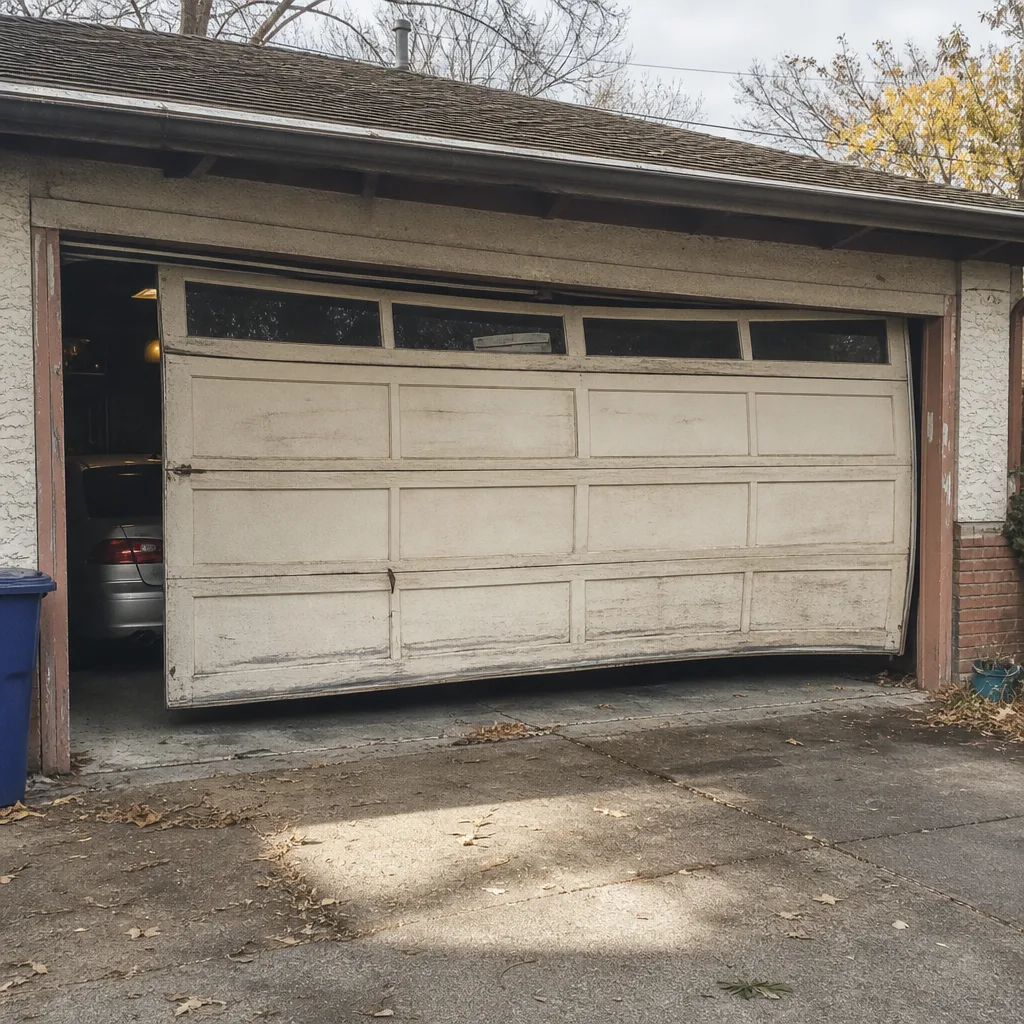 Before
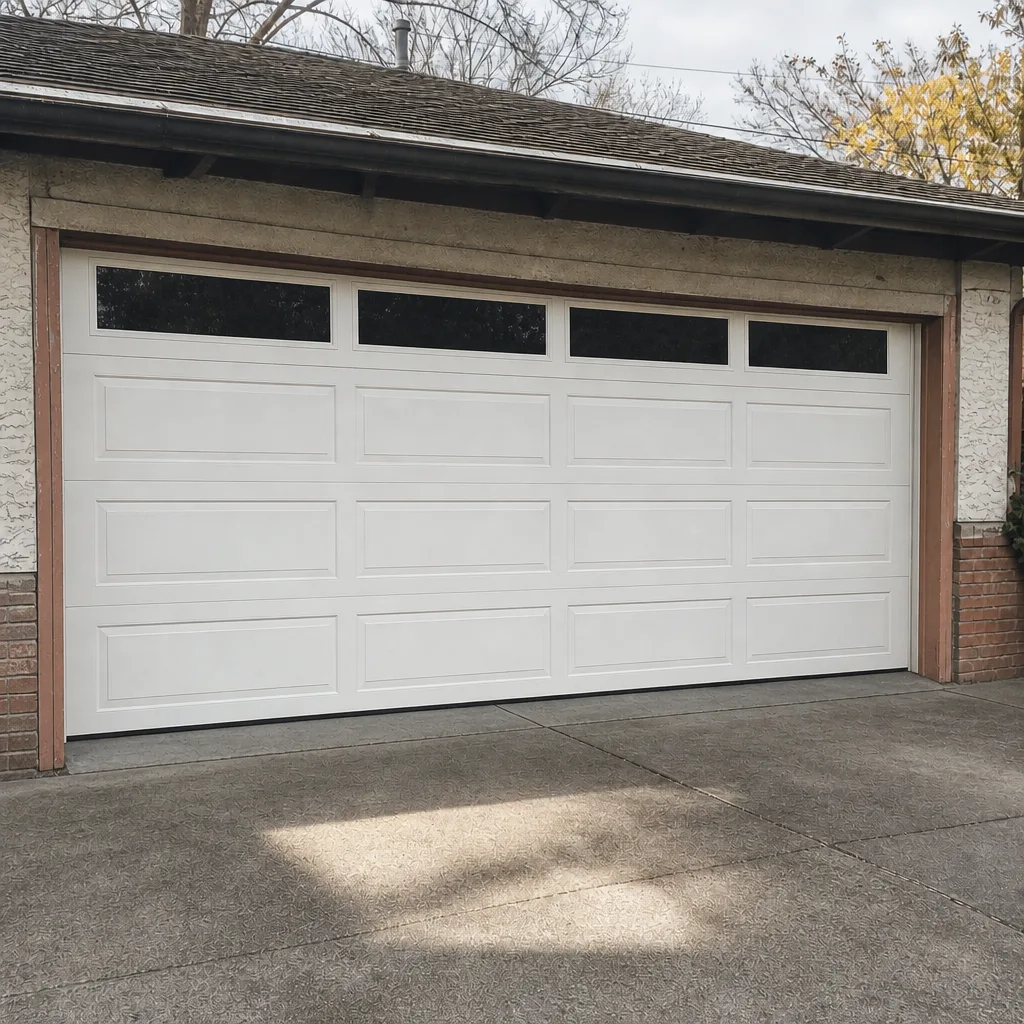 After
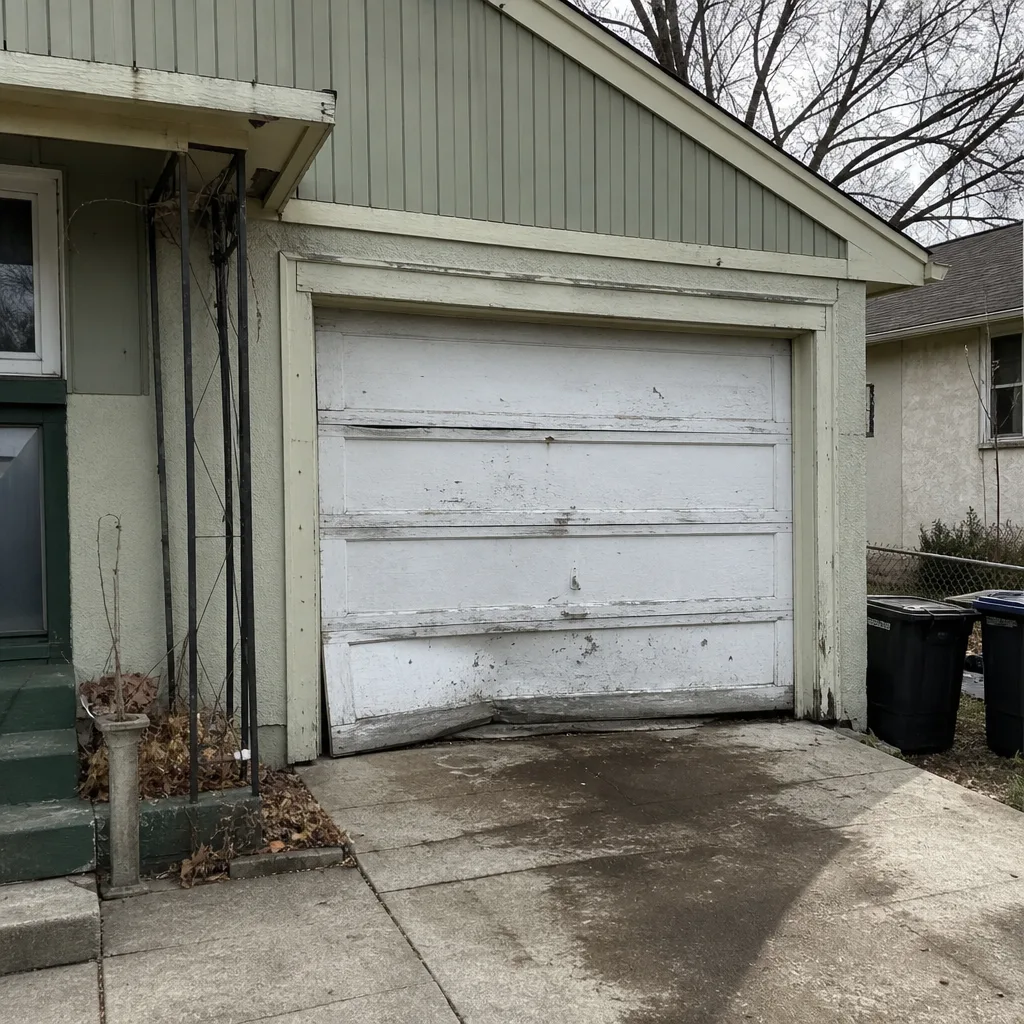 Before
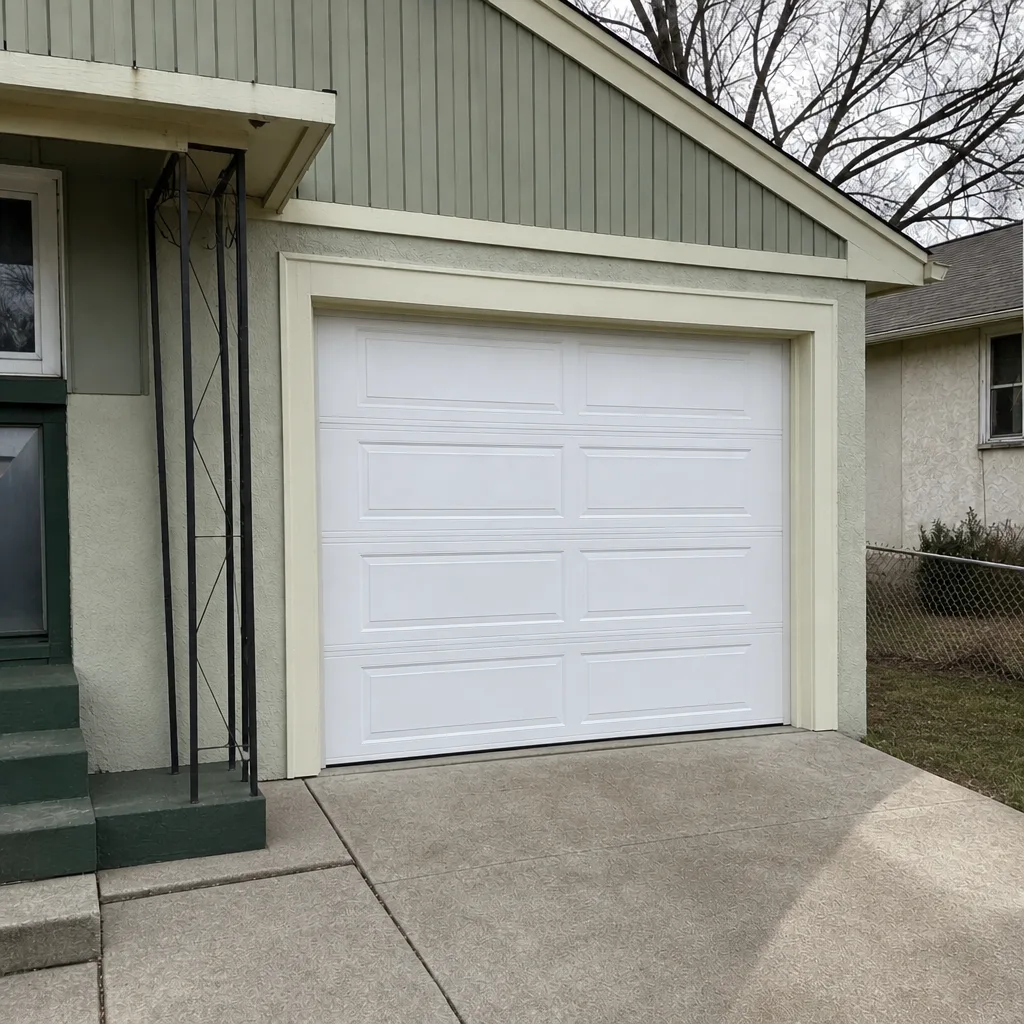 After
When to Call a Professional
Some of this checklist is safe for a homeowner to run, and some of it absolutely is not. Call a professional if you see a gap in a torsion spring coil, a frayed or broken cable, a door that fails the balance test, or anything that looks like a spring has snapped – stop using the door and get it looked at. You should also call if the auto-reverse test fails, if a track is bent or a door is off its track, or if a hinge or roller replacement involves any part you’re not sure how to match to your door. And if the door has stopped working entirely and you’re stuck, our emergency garage door service is a real offering, not an upsell. We work on LiftMaster, Chamberlain, Genie, Clopay, Amarr, Wayne Dalton, Craftsman, and Raynor systems, so there’s a good chance your brand is one we handle regularly. One call covers both the door and the opener, so you’re not coordinating two contractors. Garage Door Repair Linden Hills offers free estimates in Linden Hills – call (855) 710-3186 to get a technician out.
Frequently Asked Questions
Every six months, timed to late fall and spring. The late-fall pass protects the moving parts through the hard freeze, and the spring pass clears out the grit and moisture that build up over winter. Use a lithium or silicone-based lubricant on rollers and hinges, never WD-40, and apply it sparingly. Call (855) 710-3186 if you’d like a technician to handle it along with an inspection – estimates are free.
A visible gap in the torsion spring coil, rust streaks along the spring, or a door that suddenly feels much heavier when lifted by hand. Those are signs the spring is within about 10% of failing, and you should stop using the door and have it checked. Never try to adjust the spring yourself. Call (855) 710-3186 and we’ll get a technician out to assess it safely.
Place a solid object like a 2×4 flat on the ground in the door’s path, close the door with the opener, and watch whether it reverses within a couple of inches of contacting the object. If it reverses, it passes. If it keeps going, the opener needs adjustment before the door is used again. Call (855) 710-3186 to have the opener serviced – estimates are free.
A single-spring replacement typically runs about $180 to $340, and because a matched pair is usually replaced together, a pair costs about twice that. The final price is set by the written estimate you get before any work starts, so there are no surprises on the invoice. Call (855) 710-3186 for an exact quote – estimates are free.
The first thing to check is the bottom seal and the floor – a seal that’s hardened or a small ice ridge along the door’s edge will stop the door from closing. Check the safety sensors too; a dirty or misaligned sensor is a common cause and is a quick fix. If the door still won’t close, call (855) 710-3186 and we’ll diagnose it. Estimates are free.
The local professionals we connect you with are licensed and insured as their state requires, and our technicians have up to 12 years of experience with garage doors. All work is quoted and agreed before it starts, and we offer a satisfaction guarantee. Call (855) 710-3186 for a free estimate.
Very likely, yes. We service and repair LiftMaster, Chamberlain, Genie, Clopay, Amarr, Wayne Dalton, Craftsman, and Raynor products. That covers the vast majority of residential systems installed in Linden Hills homes. Call (855) 710-3186 and tell us your make and model – estimates are free.
The Bottom Line
A garage door maintenance checklist works when it’s ordered by consequence, not by convenience. Springs and cables come first because a miss there is dangerous and expensive. Rollers, hinges, and track come next because a cheap worn part can wreck an expensive one. Weatherstripping, lubrication, and opener safety tests protect the investment and keep the door working through a Minnesota winter. Run the monthly items yourself, tie the seasonal ones to the fall freeze and the spring thaw, and leave anything involving spring tension or cable work to a technician. That’s the whole system, and it’s the one that keeps a door in Linden Hills back to working order for the long haul.
If you’d rather have a specialist run through the whole list, Garage Door Repair Linden Hills offers free estimates in Linden Hills. Our technicians have up to 12 years of experience, we work on all the major brands, and every price is quoted and agreed before any work starts. Call (855) 710-3186 to book an inspection, a spring check, or a repair – same-day and emergency service are available when you need them.
Written by the team at Garage Door Repair Linden Hills.